Understanding Gauges: A Comprehensive Guide to Gauge APIs
Gauges are essential components in many modern applications, providing visual indicators for various metrics such as speed, temperature, or resource usage. In this guide, we’ll explore the concept of gauges and delve into numerous API examples with code snippets to help you implement and leverage these useful tools in your applications.
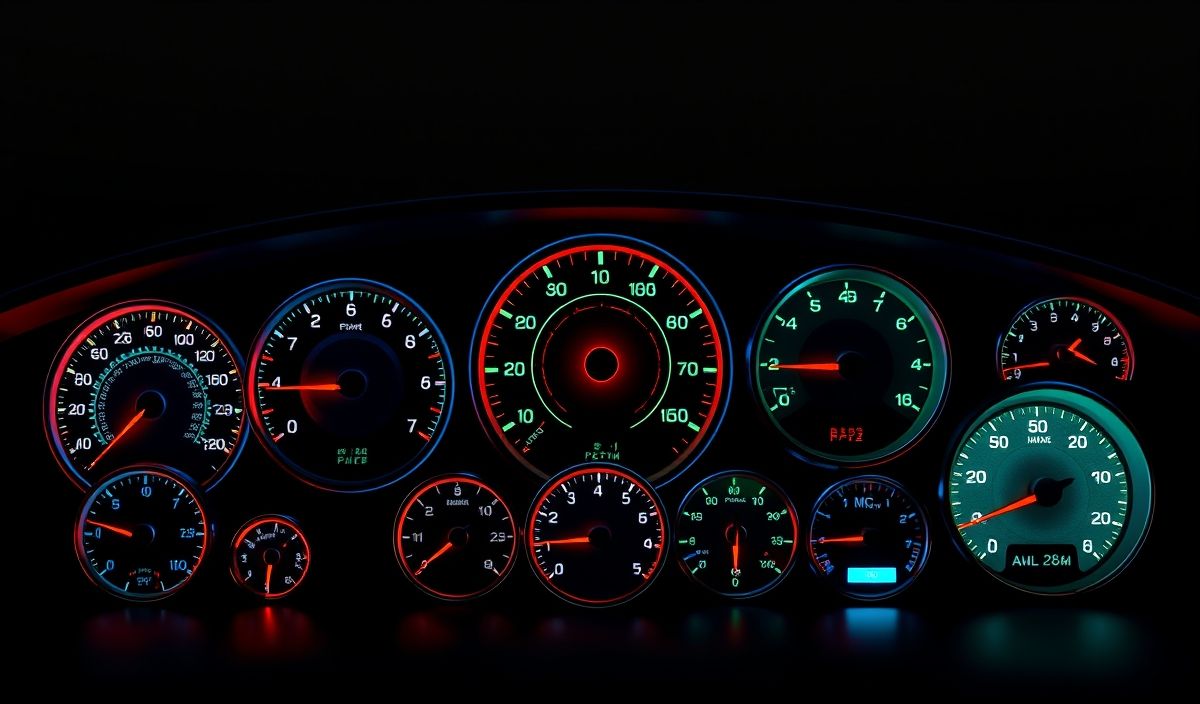
What is a Gauge?
A gauge is a graphical representation used to display data points within a fixed range. They are commonly used in dashboards, performance monitoring tools, and data visualization applications.
Key Gauge APIs and Code Examples
Creating a Simple Gauge
Here’s how to create a basic gauge using JavaScript:
    const gauge = new Gauge({
      renderTo: 'gaugeContainer',
      width: 200,
      height: 200,
      value: 42,
      units: 'km/h'
    });
    gauge.draw();
Setting Gauge Options
You can customize the appearance and behavior of gauges with various options:
    const options = {
      renderTo: 'gaugeContainer',
      width: 250,
      height: 250,
      units: 'Celsius',
      minValue: -20,
      maxValue: 100,
      highlights: [
        { from: 50, to: 100, color: 'red' }
      ]
    };
    const gauge = new Gauge(options);
    gauge.draw();
Updating the Gauge Value
You can update the gauge value dynamically with the following code:
gauge.setValue(75);
Adding Animations
Enhance the visual appeal with animations:
    gauge.setOptions({
      animationSpeed: 32
    });
    gauge.setValueAnimated(100);
Application Example: Monitoring CPU Usage
Below is a practical example of using gauges to monitor CPU usage in a web application:
    document.addEventListener('DOMContentLoaded', () => {
      const cpuGauge = new Gauge({
        renderTo: 'cpuGauge',
        width: 300,
        height: 300,
        units: '%',
        minValue: 0,
        maxValue: 100,
        value: 0,
        animationSpeed: 40
      });
      cpuGauge.draw();

      // Simulate real-time CPU usage updates
      setInterval(() => {
        const cpuUsage = Math.random() * 100;
        cpuGauge.setValueAnimated(cpuUsage);
      }, 2000);
    });
With these code examples and explanations, you should be able to efficiently integrate gauge indicators into your applications, providing real-time data visualization to enhance user experience. Experiment with different options and customize the gauges to fit your specific needs.
Happy coding!
Hash: a90fd9a9a1e66597ae124f542f73ac08d3112e7d6f5e1781163be07ccae5be0d