Getting Started with QTConsole
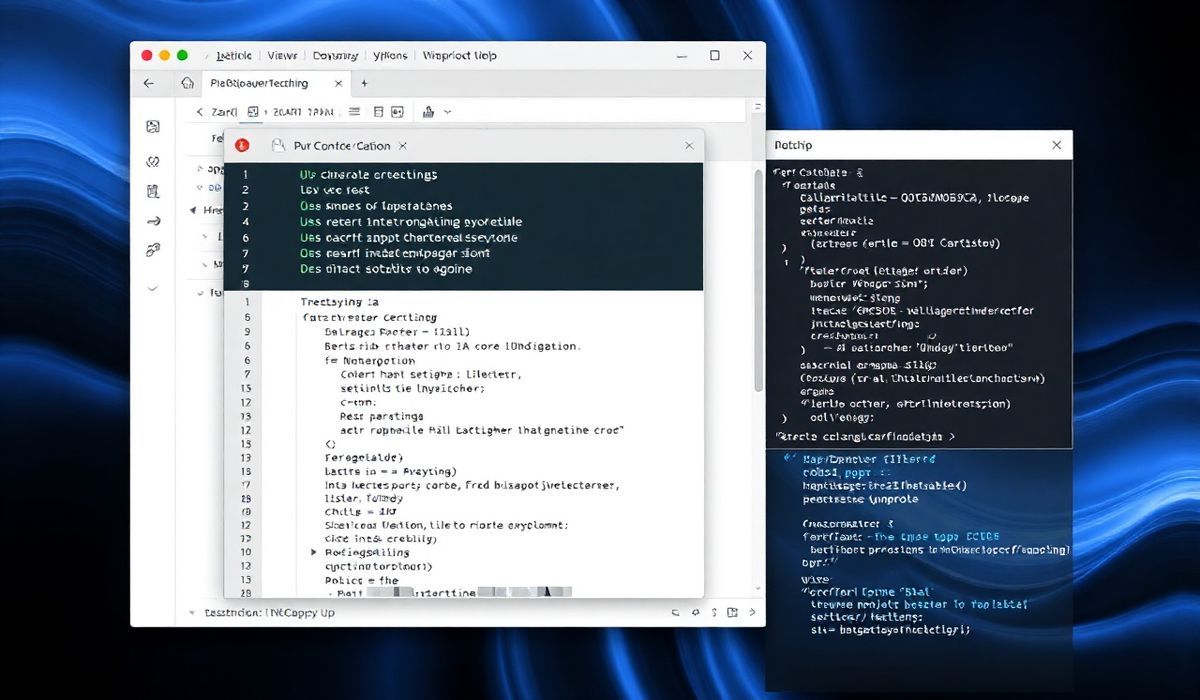
QTConsole is a lightweight, interactive interface that combines the power of IPython with the graphical capabilities of Qt. It provides a frontend for Jupyter kernels, offering users an interactive command-line solution enriched with features like syntax highlighting, multiline editing, and inline graphics. This guide explores dozens of QTConsole APIs and dives deep into practical examples to help you integrate QTConsole seamlessly into your Python-based projects.
Why Use QTConsole?
QTConsole is an excellent tool for data scientists, developers, and researchers who need a robust interactive environment. It supports rich text, embedded figures, customizable appearance, and consistent kernel communication.
Key APIs and Functionalities of QTConsole
1. Launching QTConsole
Here’s a basic example of launching QTConsole:
  from qtconsole.qtconsoleapp import launch_new_instance

  if __name__ == "__main__":
      launch_new_instance()
2. Configuration via Configurable Class
Customizing QTConsole behavior is easy thanks to the Configurable class:
  from traitlets.config import Config
  from qtconsole.qtconsoleapp import IPythonQtConsoleApp

  config = Config()
  config.ConsoleWidget.font_size = 12
  config.ConsoleWidget.syntax_style = "monokai"

  app = IPythonQtConsoleApp(config=config)
  app.initialize()
  app.start()
3. Embedding QTConsole in PyQt5 Applications
One of the standout features of QTConsole is its embeddability. Below is an example of integrating QTConsole into a PyQt5 application:
  import sys
  from PyQt5.QtWidgets import QApplication, QVBoxLayout, QWidget
  from qtconsole.rich_jupyter_widget import RichJupyterWidget
  from qtconsole.manager import QtKernelManager

  class ConsoleWidget(RichJupyterWidget):
      def __init__(self, *args, **kwargs):
          super(ConsoleWidget, self).__init__(*args, **kwargs)
          self.kernel_manager = None
          self.kernel_client = None

      def start_kernel(self, kernel_name="python3"):
          self.kernel_manager = QtKernelManager(kernel_name=kernel_name)
          self.kernel_manager.start_kernel()
          self.kernel_client = self.kernel_manager.client()
          self.kernel_client.start_channels()
          self.kernel_client.kernel_info()

  class MainApp(QWidget):
      def __init__(self):
          super().__init__()
          self.init_ui()

      def init_ui(self):
          layout = QVBoxLayout()
          self.console = ConsoleWidget()
          self.console.start_kernel()

          layout.addWidget(self.console)
          self.setLayout(layout)
          self.setWindowTitle("Embedded QTConsole")
          self.resize(800, 600)

  if __name__ == "__main__":
      app = QApplication(sys.argv)
      main_window = MainApp()
      main_window.show()
      sys.exit(app.exec_())
4. Managing Kernel Instances with QtKernelManager
QTConsole relies heavily on the QtKernelManager for kernel lifecycle management. Here’s an example:
  from qtconsole.manager import QtKernelManager

  km = QtKernelManager(kernel_name="python3")
  km.start_kernel()
  client = km.client()
  client.start_channels()
  client.execute("print('Hello from QTConsole!')")
5. Customizing RichJupyterWidget
The RichJupyterWidget is at the heart of QTConsole’s frontend. You can customize it for enhanced functionality:
  from qtconsole.rich_jupyter_widget import RichJupyterWidget

  class CustomJupyterWidget(RichJupyterWidget):
      def __init__(self, *args, **kwargs):
          super().__init__(*args, **kwargs)
          self.set_default_style("solarized-dark")
          self.syntax_style = "monokai"
Building a Full Application Example
Let’s combine the APIs introduced above into a complete PyQt5 application that integrates QTConsole:
  import sys
  from PyQt5.QtWidgets import QApplication, QMainWindow, QVBoxLayout, QWidget
  from qtconsole.rich_jupyter_widget import RichJupyterWidget
  from qtconsole.manager import QtKernelManager

  class MainApp(QMainWindow):
      def __init__(self):
          super().__init__()
          self.init_ui()

      def init_ui(self):
          central_widget = QWidget()
          layout = QVBoxLayout()

          # Initializing QTConsole
          console = RichJupyterWidget()
          kernel_manager = QtKernelManager(kernel_name="python3")
          kernel_manager.start_kernel()
          kernel_client = kernel_manager.client()
          kernel_client.start_channels()
          console.kernel_client = kernel_client

          # Add console to UI
          layout.addWidget(console)
          central_widget.setLayout(layout)
          self.setCentralWidget(central_widget)
          self.setWindowTitle("Full-Fledged QTConsole Application")
          self.resize(1024, 768)

  if __name__ == "__main__":
      app = QApplication(sys.argv)
      main_window = MainApp()
      main_window.show()
      sys.exit(app.exec_())
Conclusion
QTConsole is a flexible and powerful environment that not only enhances interactive Python development but also allows seamless embedding into custom applications. By leveraging its APIs, you can build interactive tools tailored to your specific workflows. We hope this guide has inspired you to explore QTConsole’s potential!


